I may receive commissions from purchases made through links in this article at no additional cost to you. Read full disclosure.
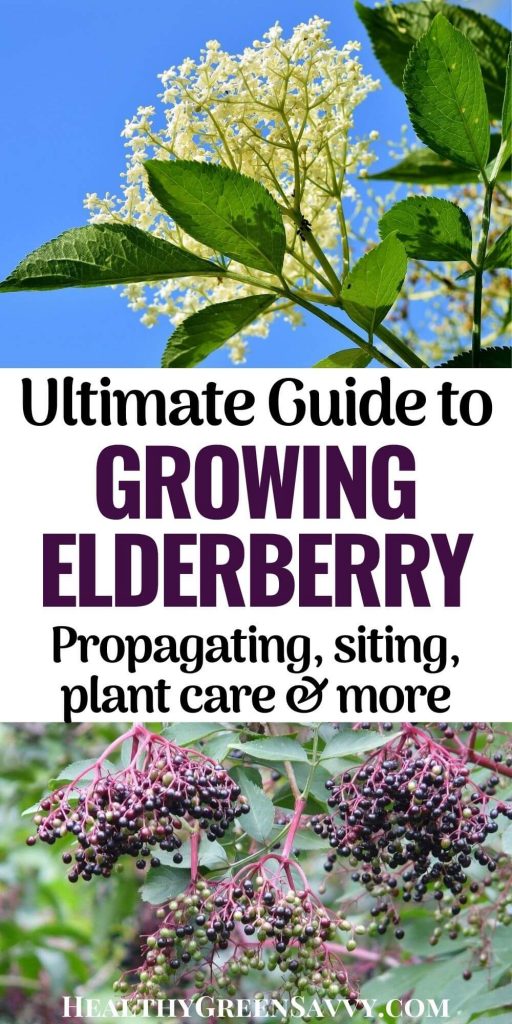
Interested in growing elderberries and elderflowers in your garden? This comprehensive guide to growing elderberry contains everything you need to know about how to grow elderberries in your own backyard, including elderberry growing conditions, elderberry propagation methods, pruning elderberry, elderberry plant care, and elderberry companion plants.
This might be one of the most detailed guides to growing elderberry you’ll find. Read on to learn a lot about how to grow elderberries!

WHY CONSIDER GROWING ELDERBERRY?
Whether or not you have a dedicated food garden, elderberry bushes are a fantastic way to incorporate edibles into your landscape.
Elderberry plants do well in places other food plants might not thrive, and their copious blossoms in early summer are not only beautiful, they attract pollinators like crazy.
Elderberries make popular companion plants in permaculture gardens, serving an impressively large number of purposes. In addition to producing two crops we can use for food and medicine, elderberry bushes attract pollinators and provide food and habitat for wildlife. Elderberry works well as an understory plant, even with challenging trees like walnuts. You’ll find more on elderberry companion plants at the bottom of the post.
Permaculture expert Toby Hemenway notes elderberry may be used to control soil pathogens and repel pests, though American elderberry lacks the potent odor European elderberry is famous for and may not be as effective in homemade pesticides.
The easily-hollowed stems of the elder are also great for woodcrafts, and many parts of the plant can be used for dyeing textiles.
And elder plants give us not just one, but TWO edible crops, flowers, and berries. Elderflowers smell divine and can be used in numerous delicious recipes. Here’s more on the benefits of elderflowers and how to use them.
Each elderberry plant can produce many pounds of fruit, which you can use in surprisingly diverse ways. A notorious anti-viral herb, elderberry is a delicious way to bolster your immune system, whether in homemade elderberry syrup, elderberry tea, or in scores of tasty recipes. Here are more than 20 uses for elderberries if you find yourself with a bumper crop. Here’s more on the numerous health benefits of elderberries.
ELDERBERRIES GROW WILD EVERYWHERE, SO WHY CONSIDER GROWING ELDERBERRY IN YOUR GARDEN?
Though many people forage all the elderberries they can use, there are plenty of compelling reasons to grow elderberry in your own garden.
–> If you do forage your elderberries, please, please, please be sure you correctly identify elderberry plants. I’ve seen time and again people carelessly assuming any plant with purple berries is elderberry, and many are quite poisonous! Use a good foraging book to help you positively identify elderberry bushes.
Even if you can easily forage all the elderberries you want, I still recommend growing your own. Why? Three reasons:
- You can keep an eye on your berries and harvest at just the right time, which is far harder when your plants are miles away. I’ve often found not-quite-ripe berries and mostly empty clusters in my favorite foraging grounds.
- If elderberry plants grow right near your house, you can defend part of your crop from birds, who will take every ripe berry if you let them!
- You can choose cultivars selected for flavor, which may be far superior to what you can forage locally. This is definitely the case where I live. Our local wild elderberries, while tasty when cooked down, have almost no flavor used fresh, so they’re useless in recipes like muffins, pancakes, and oatmeal.
I spent untold hours researching elderberries and speaking to experts around the country about the many different elderberry varieties and the best methods for growing elderberry. You’ll find much of what I learned in these conversations about growing elderberries below.
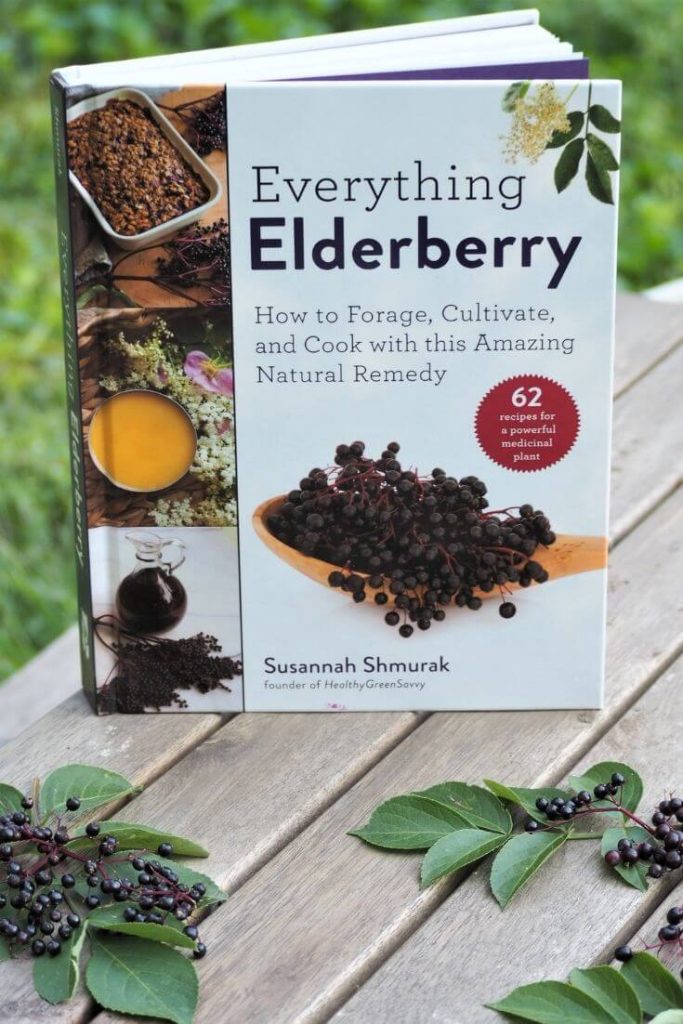
For more on the history of elderberries, the science behind their health benefits, plus more than 60 recipes for using elderberry and elderflower, I hope you’ll check out my book, Everything Elderberry.
ELDERBERRY GROWING CONDITIONS TO CONSIDER
Before growing elderberry in your home garden, there are some issues to consider so your elderberry plants can thrive.
1. Available Space
Depending on the elderberry you decide to grow, you may wind up with a compact elderberry bush or a huge sprawling tree. If you have a smaller yard, you’ll want to choose one of the plants that isn’t ginormous at maturity.
How big do elderberry bushes get? That varies A LOT by the type and cultivar of elderberry you choose. Some blue elderberries (Sambucus cerulea) may develop into 30-foot trees, while certain cultivars of American elderberry (Sambucus canadensis) have a maximum height of 5 or 6 feet.
2. Where Do Elderberries Grow Part 1: Elderberry Growing Zones
What zones do elderberries grow in? Fortunately for those of us who love growing elderberry, many!
Some elderberry cultivars can produce in growing zones as cold as 3, while others can tolerate hotter climates down to zone 10.
Those of you in the western parts of North America may be more familiar with blue elderberries (Sambucus cerulea), which haven’t received as much attention from researchers as the eastern variety, Sambucus canadensis, though apparently their flavor is far superior.
You’ll find dozens of named canadensis cultivars available, but few, if any, Sambucus cerulea. You’ll likely see them sold simply as blue elderberry or possibly as Sambucus glauca or velutina. They may be called mexicana if they originated in the southwest, where they may have developed better drought-tolerance.
The European elderberry, Sambucus nigra, generally hasn’t done well in trials conducted in the United States, though you will find some nigra cultivars at local nurseries. The plants commonly sold as “ornamentals,” like ‘Black Lace’ and ‘Black Beauty’ are nigra stock.
I find the label ‘ornamental’ pretty arbitrary, as all elderberry plants are beautiful. The cultivars explicitly sold as ornamental likely won’t produce as much or as flavorful fruit as some of the cultivars recommended below.
A few elderberry cultivars sold as ornamental are Sambucus racemosa, or red elderberry, which contain far higher concentrations of the compounds that make people sick. Be aware they’re generally not recommended for consumption if you choose one of these plants. If you find yourself with something you thought was an elderberry but has a cone-shaped flowerhead and red berries, don’t eat them. Some people use the flowers, but the berries reportedly taste awful and have made people very ill. (Here are more than 150 edible flowers to consider adding to your next meal.)
Studies on the native North American black elderberry, Sambucus canadensis, have found it to have lower levels of the cyanogenic glycosides that cause some people gastric problems. Here’s a long-awaited study with details if you’re interested. They’re also best suited to growing conditions in the eastern part of North America.
Here’s everything you need to know about choosing elderberry varieties suited to your climate and growing conditions.
3. Where Do Elderberries Grow Part 2: Sun Exposure
Elderberries produce best in full sun but will tolerate part shade conditions quite well. They’re a good choice for places with less than full sun, but if you’re eager to get the biggest crops possible, give them a location with as much sun as you can.
4. Where Do Elderberries Grow Part 3: Soil
Elderberry plants prefer slightly acidic soil (pH 5.5 to 6.5) high in organic matter, but they often grow on marginal land and can handle poorer soils.
Elderberry bushes prefer well-drained soil, but they will tolerate soil with less-than-ideal drainage. If your soil is very clayey and water tends to pool, you can plant in raised beds or amend the soil to improve drainage.
Elderberry plants have shallow root systems and don’t do well in dry conditions. If you have sandy soil that doesn’t retain water well, you’ll want to amend it with lots of organic matter and be sure to water consistently.
One of these inexpensive meters that measures light, pH, and moisture can be helpful as you select your spot and decide if you need to amend your soil. A soil test is always a good idea as well to help you identify nutrient deficiencies that need correcting.
GROWING ELDERBERRY FROM CUTTINGS, ROOTS, SEED, OR PLANT STARTS
Once you’ve decided on the right elderberry for your growing conditions, it’s time to find elderberry plants. There are several ways to acquire elderberry bushes for your garden:
1. Growing Elderberry from Plant Starts
The quickest but most expensive way to get elderberry plants going in your garden is to buy potted or bare-root plants. Potted elderberry plants will often run upwards of $25 apiece, so especially if you’re planning on growing a lot of elderberries, it may be more than you want to spend.
2. Growing Elderberry from Cuttings
The good news is that growing elderberry from cuttings is easy. You can buy cuttings or take them yourself from elderberry plants. If you’re taking cuttings yourself, remember that your cutting will grow with the characteristics of the parent plant. If someone offers you a cutting from an elderberry growing in their yard, take note of its size and ask how the flavor and yield is, or you could give over precious garden space to a plant that isn’t quite what you want.
You can purchase cuttings from named cultivars locally or online. (See the section below for more details on sourcing elderberry plants.) Though you can buy cuttings from all over, your plants will probably fare better if you get your cutting from somewhere with similar growing conditions to yours. A cutting from a farm in North Carolina won’t necessarily thrive on your Idaho homestead, though several growers I spoke to told me their cuttings had done well for customers in a wide range of climates.
Growing elderberry from hardwood cuttings is the most popular way to propagate elderberries. You’ll find detailed instructions on how to grow elderberries from cuttings a little further down the post.

These unassuming little sticks I got from a local berry farmer will grow roots in the soil to make new elderberry plants.
3. Propagating Elderberry from Runners
Just as you divide perennial plants, you can dig up some of the runners elders send out and replant it in early spring while the plant is still dormant. As in the case of cuttings, the resulting elderberry plant will be genetically identical to the mother plant, so take your division from a plant with the characteristics you want.
4. Growing Elderberry from Root Cuttings
You can take a cutting from the shallower roots of the plant while it’s dormant in late winter. Cuttings should be about 4 to 6 inches long and be about the diameter of a pencil. Each root cutting should have 3 to 5 nodes. Place your elderberry root cutting horizontally in potting soil or soilless growing medium for 6 to 8 weeks, keeping the soil moist. One root cutting may produce several plants, which you can separate when you transfer to the garden. Plant out in spring when roots have developed.
5. How to Grow Elderberries from Seed
Notoriously seedy elderberries seem like a natural for growing from seed. You can certainly propagate elderberries from seed, and of course the wild elderberry plants that grow all over the world were mostly started from seeds scattered by birds and humans.
There are two primary reasons experts recommend growing elderberry from cuttings rather than from seed. First, when you grow elderberry from seed, you have absolutely no idea what characteristics of the mother plant will be passed down to yours, since elderberries don’t grow what’s called “true-to-seed,” or genetically identical to the parent plants.
Second, elderberry seeds can be hard to get started, requiring a few months of cold storage called cold stratification and not germinating reliably. Additionally, the time until your new plant fruits will be longer than if you begin with one of the other elderberry propagation methods.
If you’re keen to try growing elderberry from seed anyway, you’ll need to stratify your elderberry seeds, which means keeping them in your refrigerator about 12 weeks before planting. If you’re in a colder climate, you can plant elderberry seeds directly in the garden in fall. In warmer regions, use the refrigerator to mimic winter conditions, and plant in pots or outside in spring.
Germination rates with elderberry seeds aren’t always great, so plant more than you ultimately want. You can always share extras with friends.

WHERE TO BUY ELDERBERRY PLANTS AND CUTTINGS (OR GET THEM FOR FREE)
Local nurseries may sell some elderberries as potted plants, but many only carry so-called “ornamental” cultivars, though you may find some common elderberry cultivars like York.
To get less common elderberry cultivars, you’ll likely need to shop online or find someone in your area who’s willing to take a cutting for you.
Because elderberry plants can vary so much in height and other characteristics, be sure it’s a plant you actually want before accepting a cutting.
If the owner of the plant doesn’t know what cultivar they have, find out how the berries taste, what the yield is like, and how big the plant is likely to get.
Searching for “elderberry growers near me” online might turn up a local farm where you could buy cuttings. You can also try searching under “elderberry” at Localharvest.org.
Elderberry plants and cuttings often sell out early. Many sellers take orders in fall and ship their elderberry cuttings in late winter.
Some options for buying elderberry plants and cuttings online:
- Norm’s Farms
- Edible Acres
- River Hills Harvest
- Raintree Nursery (wide selection)
- Hirt’s Gardens
- Stark Bro’s
Some small sellers stock unnamed plants they refer to as “American elderberry,” “black elderberry,” or just “elderberry.” If they don’t provide details of the parent plant’s characteristics, you’ll have no idea what the plant’s final size or berry production will be.
Most Etsy sellers don’t carry named cultivars and give no information on their unnamed plants’ mature height, yields, or flavor. A couple that do:
OzarkMtnPlants has York, Adams, and Wyldewood.
Growers Solution carries 2-gallon pots of Johns, Ranch, and Adams
Sellers on Amazon likewise mostly sell unnamed plants and cuttings.
You may be able to get some cuttings from unusual elderberry cultivars from an ever-growing number of elderberry enthusiasts in Facebook groups devoted to elderberries. One elderberry group focuses entirely on selling and trading elderberry cuttings, root crowns, seeds, and plants.
HOW TO GROW ELDERBERRIES FROM CUTTINGS
You have two options for growing elderberries from cuttings:
- Hardwood cuttings, taken from the plant while it’s dormant
- Softwood cuttings, taken from the plant while it’s actively growing
Softwood cuttings, according to researcher Andrew Thomas of the University of Missouri Elderberry Improvement Project, are much more “involved” and “risky” than propagating from hardwood cuttings, and he doesn’t recommend it. But if you find yourself in a situation where it’s already the growing season and you have access to a plant you want to try propagating, I include information on how to propagate elderberries from softwood cuttings below.
In contrast, according to Patrick Byers, a field specialist in horticulture with the University of Missouri Extension who has been involved with the Elderberry Improvement Project since its inception more than two decades ago, propagating elderberries from hardwood cuttings is “so easy.” Whether you take your own hardwood cuttings or buy them from growers who do mail order, they need cool weather to root, so you need to plan your timing carefully if you want to succeed.
Elderberry Propagation Using Hardwood Cuttings
To take your own hardwood cutting:
In late winter, select a first-year cane ¾–1” in diameter and nick the bark near the bottom to make certain the cane is live, with bright green and white beneath the bark. Take a 6–12 inch segment of the cane that contains two to three pairs of leaf nodes, the spots where leaves will emerge. Make an angled cut ½–¾” below the lower leaf node pair, and a flat cut ½–¾” above the upper leaf node pair. The angle on the cut will help you identify which end of the cutting goes in the soil, and also makes it easier to insert.
Rooting Your Hardwood Cutting
Whether you’ve taken your own cuttings or purchased them, you can keep them in the refrigerator in a plastic bag until you’re ready to plant.
The elderberry enthusiasts I’ve consulted recommend direct planting your elderberry cuttings in the garden when possible rather than rooting them in pots. If you’d like to try planting elderberry directly in the garden in colder climates, you can store your cuttings in the refrigerator until your soil has thawed and the danger of frost has passed.
Many people find it easier to keep the soil moist as required if they root their elderberry cuttings in pots, however, and choose to go this route instead. Do whichever suits your preferences.
Step 1: Soak your cuttings. Place your elderberry cuttings angle-side down in a jar of non-chlorinated water, either filtered, distilled, well, or rainwater. Put the jar somewhere cool out of direct sunlight and allow to soak for 12 to 24 hours. After soaking, remove the cutting and allow to air dry on a towel for a few minutes. Some growers recommend dipping the angled end into rooting hormone or honey to help the rooting process and keep out fungus and bacteria, but many people I’ve spoken to don’t bother because elderberry is so good at rooting without it.
Lily Springs Farm uses water that’s had willow branches soaking in it for its presoak. Willow has a natural rooting hormone that can help the process along. If you have access to a willow, this step may improve your success rate.
Step 2: Prepare your pots and potting medium: There’s some dispute about what to plant your elderberry cuttings in. Some sources recommend a soilless growing medium, while others suggest sterilized potting soil, mixes of sand and leaf compost, or even just sticking them right in the garden if it’s warm enough to plant but still cool enough for roots to grow.
You want to use containers deep enough to bury the bottom node of your elderberry cutting about two inches deep.
Though you may place multiple cuttings in a single pot if you need to conserve space, it’s best to give each cutting its own pot to avoid disturbing the roots at transplant.
Elderberry expert Terry Durham recommends adding charcoal, azomite, and compost to the mix in order to provide trace nutrients and inoculate the roots with mycorrhizae.
Step 3: Plant your cuttings. To protect the bottom of the cutting and to avoid disturbing the growing hormone if you’re using one, poke a hole in your chosen medium before inserting the cutting angle-side down.
The lower nodes should be below soil level, and the nodes at the top of the cutting should be above, where they will develop leaves. Water well, soaking the potting medium completely.

Elderberry cuttings rooting in pots. They will be ready to plant in the garden in 10-12 weeks.
Cover with a clear plastic bag to help maintain moisture and place the pot somewhere cool, sheltered, and out of direct sun for 8-12 weeks. Check regularly to be sure the soil stays moist.
Your elderberry cuttings will root best at 40°F. Warmer temperatures encourage top growth instead, says Ann Lenhardt of Norm’s Farms, an elderberry farm located in Pittsboro, North Carolina. If you live somewhere where it doesn’t get that cool, she says getting an already-rooted plant or transplanting a runner might work better.
If you live somewhere with severe winters like I do, it’s important to time rooting so you can accommodate the needs of your cuttings. When it’s 0 degrees outside and our the unheated areas of our well-insulated basement is around 60, finding somewhere that plants can root at 40 degrees is a bit of a challenge.
Elderberry enthusiasts I’ve asked tell me they’ve had success planting in a range of temperatures, so if hitting it just right isn’t the cards for you, take comfort in knowing that there seems to be a good bit of wiggle room with these tough plants.
Here’s a good video about propagating elderberry from Edible Acres.
Elderberry Propagation Using Softwood Cuttings
Softwood cuttings should be taken in early summer as new growth emerges and before berries begin to form. It’s best to take cuttings early in the day and get a gallon-sized pot filled with your growing medium moistened and ready to place the cuttings in.
Cut a younger, actively-growing branch that has not yet turned woody and brown and cut into 4- to 6-inch long sections, each with 2 to 4 nodes. Make an angled cut at the bottom end of each section to help identify which end to root. Remove the bottom two-thirds of leaves from each section, leaving at least one set of leaves at the top. Byers recommends trimming off some of the leaflets to minimize moisture loss, which can be an issue with softwood cuttings.
Put your cutting leaf-side up into the prepared medium, leaving about two-thirds above the medium. Cover the pot with a clear plastic bag and secure with a rubber band to keep in moisture. Place in bright, indirect light. Every two to three days, remove the bag, mist the cutting with water, and add water to the soil when it begins to dry out. Replace the bag.
Byers recommends leaving the rooted plant in the pot until late fall, when you can transplant it to the garden following the instructions in the next section.
You can also wait until spring and plant cuttings directly into the garden, though Byers says your success rate will be lower than if you root them in a pot. He suggests planting three cuttings in each spot to ensure you have one that succeeds.
HOW TO PLANT ELDERBERRIES ONCE THEY’RE ROOTED
After you’ve determined where you want to plant your elderberry starts, make sure you’re spacing the plants far enough apart to allow ample airflow, which helps prevents pests and disease. Though your plants may look tiny now, if the mature elderberry plants will be 6 feet wide, you need to leave a minimum of 6 feet between your planting holes.
Before planting, test your soil to identify nutrient deficiencies. Terry Durham recommends paying special attention to boron and sulphur, nutrients elderberries need that many soils lack. Testing your soil also prevents you from adding unneeded nutrients, which can harm the plant and pollute waterways.
After the danger of frost has passed, dig a hole about two feet deep and three feet wide. Durham recommends working in about 50% compost when you plant elderberries. Compost not only adds valuable nutrients, he says, but also encourages mycorrhizae, a network of fungi in the soil that help plants access nutrients
When you remove your elderberry plant from its pot, take a look at the roots. If they spiral around rather than reaching out, loosen them very gently, but don’t spread them as you might other plant starts, advises Brent Madding of 360 Farms. Because elderberry plants naturally want to spread, encouraging the plant to reach further down into the soil will help it weather drier conditions.
Place your elderberry plant in the prepared hole with the roots level with or just below the level of the soil. Press the soil and water thoroughly.
Mulch with about 4 inches of wood chips or straw to inhibit weed competition.
ELDERBERRY PLANT CARE
While elderberries are hardy shrubs, some attentive plant care, especially in their first year, can help ensure your elderberries thrive.
Like many other perennials, elderberry plants may not grow much in the first and second seasons (though some might), but they should take off in their third year.
–> The first season you grow elderberries, remove all the flowers so the plant doesn’t put its energy into fruit production and goes to establishing a strong root system instead. Use those delicious blossoms to make lots of elderflower tea, champagne, and syrup!
You can start harvesting elderberries in the plant’s second season. A mature elderberry bush may yield up 10 to 15 pounds of fruit every year.
Elderberry Plant Care: Watering
Keep your elderberry plants well-watered while they’re getting established, giving them between 1 and 2 inches per week. Once established, their shallow root systems mean they still need consistent moisture, so aim to give them at least an inch per week during the growing season.
Elderberry Plant Care: Fertilizing
Each spring give your plants an application of compost to provide nutrients and encourage mycorrhizal activity. Terry Durham also gives his plants a foliar feed of compost tea when the plants are in flower and a low-nitrogen, high phosphorus and potassium fertilizer after berries have been harvested.
Other growers suggest applying a 10-10-10 fertilizer when plants begin to leaf out in spring, 1/4 pound per year of the plant, up to one pound per plant (e.g., 3/4 pound for a 3-year-old plant, and one pound for any plant four years or older).
Elderberry Plant Care: Pruning Elderberry
You can help maintain your elderberry plant’s health and productivity with regular pruning, which can help promote airflow and prevent disease, while also encouraging new growth and greater fruit production.
For the first two growing seasons, let your elderberry plants grow without pruning. In the third season, while the plant is dormant in winter, use clean, sharp pruning shears to take out any damaged, dead, or diseased canes. Destroy rather than compost any material that looks diseased or infested with pest insects.
Many growers recommend pruning all canes down to 12-18 inches above the ground each winter, leaving 2 leaf nodes. Some growers suggest pruning elderberries all the way down to the ground, which results in more uniform size of the plant as well as larger flower and berry clusters and more uniform ripening. It can also help with pest control.
Most American elderberries (Sambucus canadensis) should work with this pruning method, though some have reported problems with fruiting the following season. A berry farmer in my area (zone 4b) uses this approach and says the yield and overall vigor of his plants has greatly improved.
European elderberry plants (Sambucus nigra) do not fruit on first-year canes, so pruning to the ground each winter would take out your crop. In addition to removing damaged or diseased canes, you’ll want to prune canes older than 3 years.
‘Marge,’ which researchers believe is a hybrid between an American and European elderberry, fruits on second-year canes and should be pruned according to the guidelines for nigra elderberry plants.
Elderberry Plant Care: Pests & Diseases
These tough native plants are not very prone to diseases and pests, but occasionally you may find issues with powdery mildew, leaf spot, verticulum wilt, thread blight, spotted wing drosophila (SWD), and Japanese beetles. (Here’s everything you need to know about dealing with Japanese beetles if you find them. Spoiler alert: act quickly!)
To head off diseases like powdery mildew and leaf spot, be sure to water at the roots rather than overhead, a good practice in general.
Pruning off the bottom 2 feet of flowers umbels from your elderberry plants can help discourage SWD, a major pest problem if you get it in your yard. Here’s a useful source on dealing with SWD, and more on elderberry pests and diseases here.
Protecting Your Elderberry Harvest
Birds love elderberries as much as humans! If you want to protect some of your harvest from hungry birds, you can use netting to keep them off the berry clusters.
Some people use parts of stockings around clusters of berries, which also helps to keep out insects like SWD.
Elderberry Companion Plants & Permaculture Applications
Many enthusiastic permaculture gardeners have asked what companion plants work for elderberries, and opinions on this subject are somewhat varied. The commercial growers I spoke to tend to counsel against planting much near elderberries to limit competition, but elderberries are common additions in permaculture groupings called guilds.
Permaculture guilds aim to circulate nutrients, sunlight, and water as efficiently as possible by planting mutually beneficial plants near one another. Some may attract pollinators, others fix nitrogen or accumulate minerals from deep in the soil.
As I mentioned earlier, elderberries are among the plants that can tolerate juglones given off by walnut trees, so they’re often used in the shrub layer of walnut guilds, along with mulberry, currants, and hackberry.
If you’re concerned about weed competition, mulch immediately under your elderberry bush, and underplant further away from the center of the plant. One permaculture source suggested inoculating the straw you use on your elderberries with spores of edible mushrooms, which will also encourage mycorrhizal activity in the soil.
Clover might be a good choice as a living mulch, as it will help fix nitrogen and encourage microbes in the soil. The flowers and leaves of clover are edible as well.
Here’s more on elderberry companion plants.
If you want to experiment with growing additional edibles around your elderberry, you might underplant your elderberry bushes with shade-tolerant herbs you can use in cooking or as homegrown medicine, such as lemon balm, violets, bee balm, chives, and thyme. Here are other perennial herbs to consider. The flowers of these herbs serve additional purposes, adding beauty and supplying food for pollinators, which should help increase yields in your garden.
There are dozens more medicinal plants you can grow in your garden. Here’s more information on starting a medicinal herb garden if you’d like to explore growing more homegrown remedies.
Because mint has such a tendency to take over, it’s best not to plant it near elderberry. Some sources discourage planting mint, strawberries, or members of the nightshade family (solanacae— like tomatoes and potatoes) with elderberry bushes because they can host some of the same plant diseases that afflict elderberry.
Are you excited to grow elderberries in your garden? Which elderberries are you planning to grow?
Pin this information on how to grow elderberries for later!
Growing Elderberry photo credits: Hans Braxmeier, Susannah Shmurak, Capri23auto
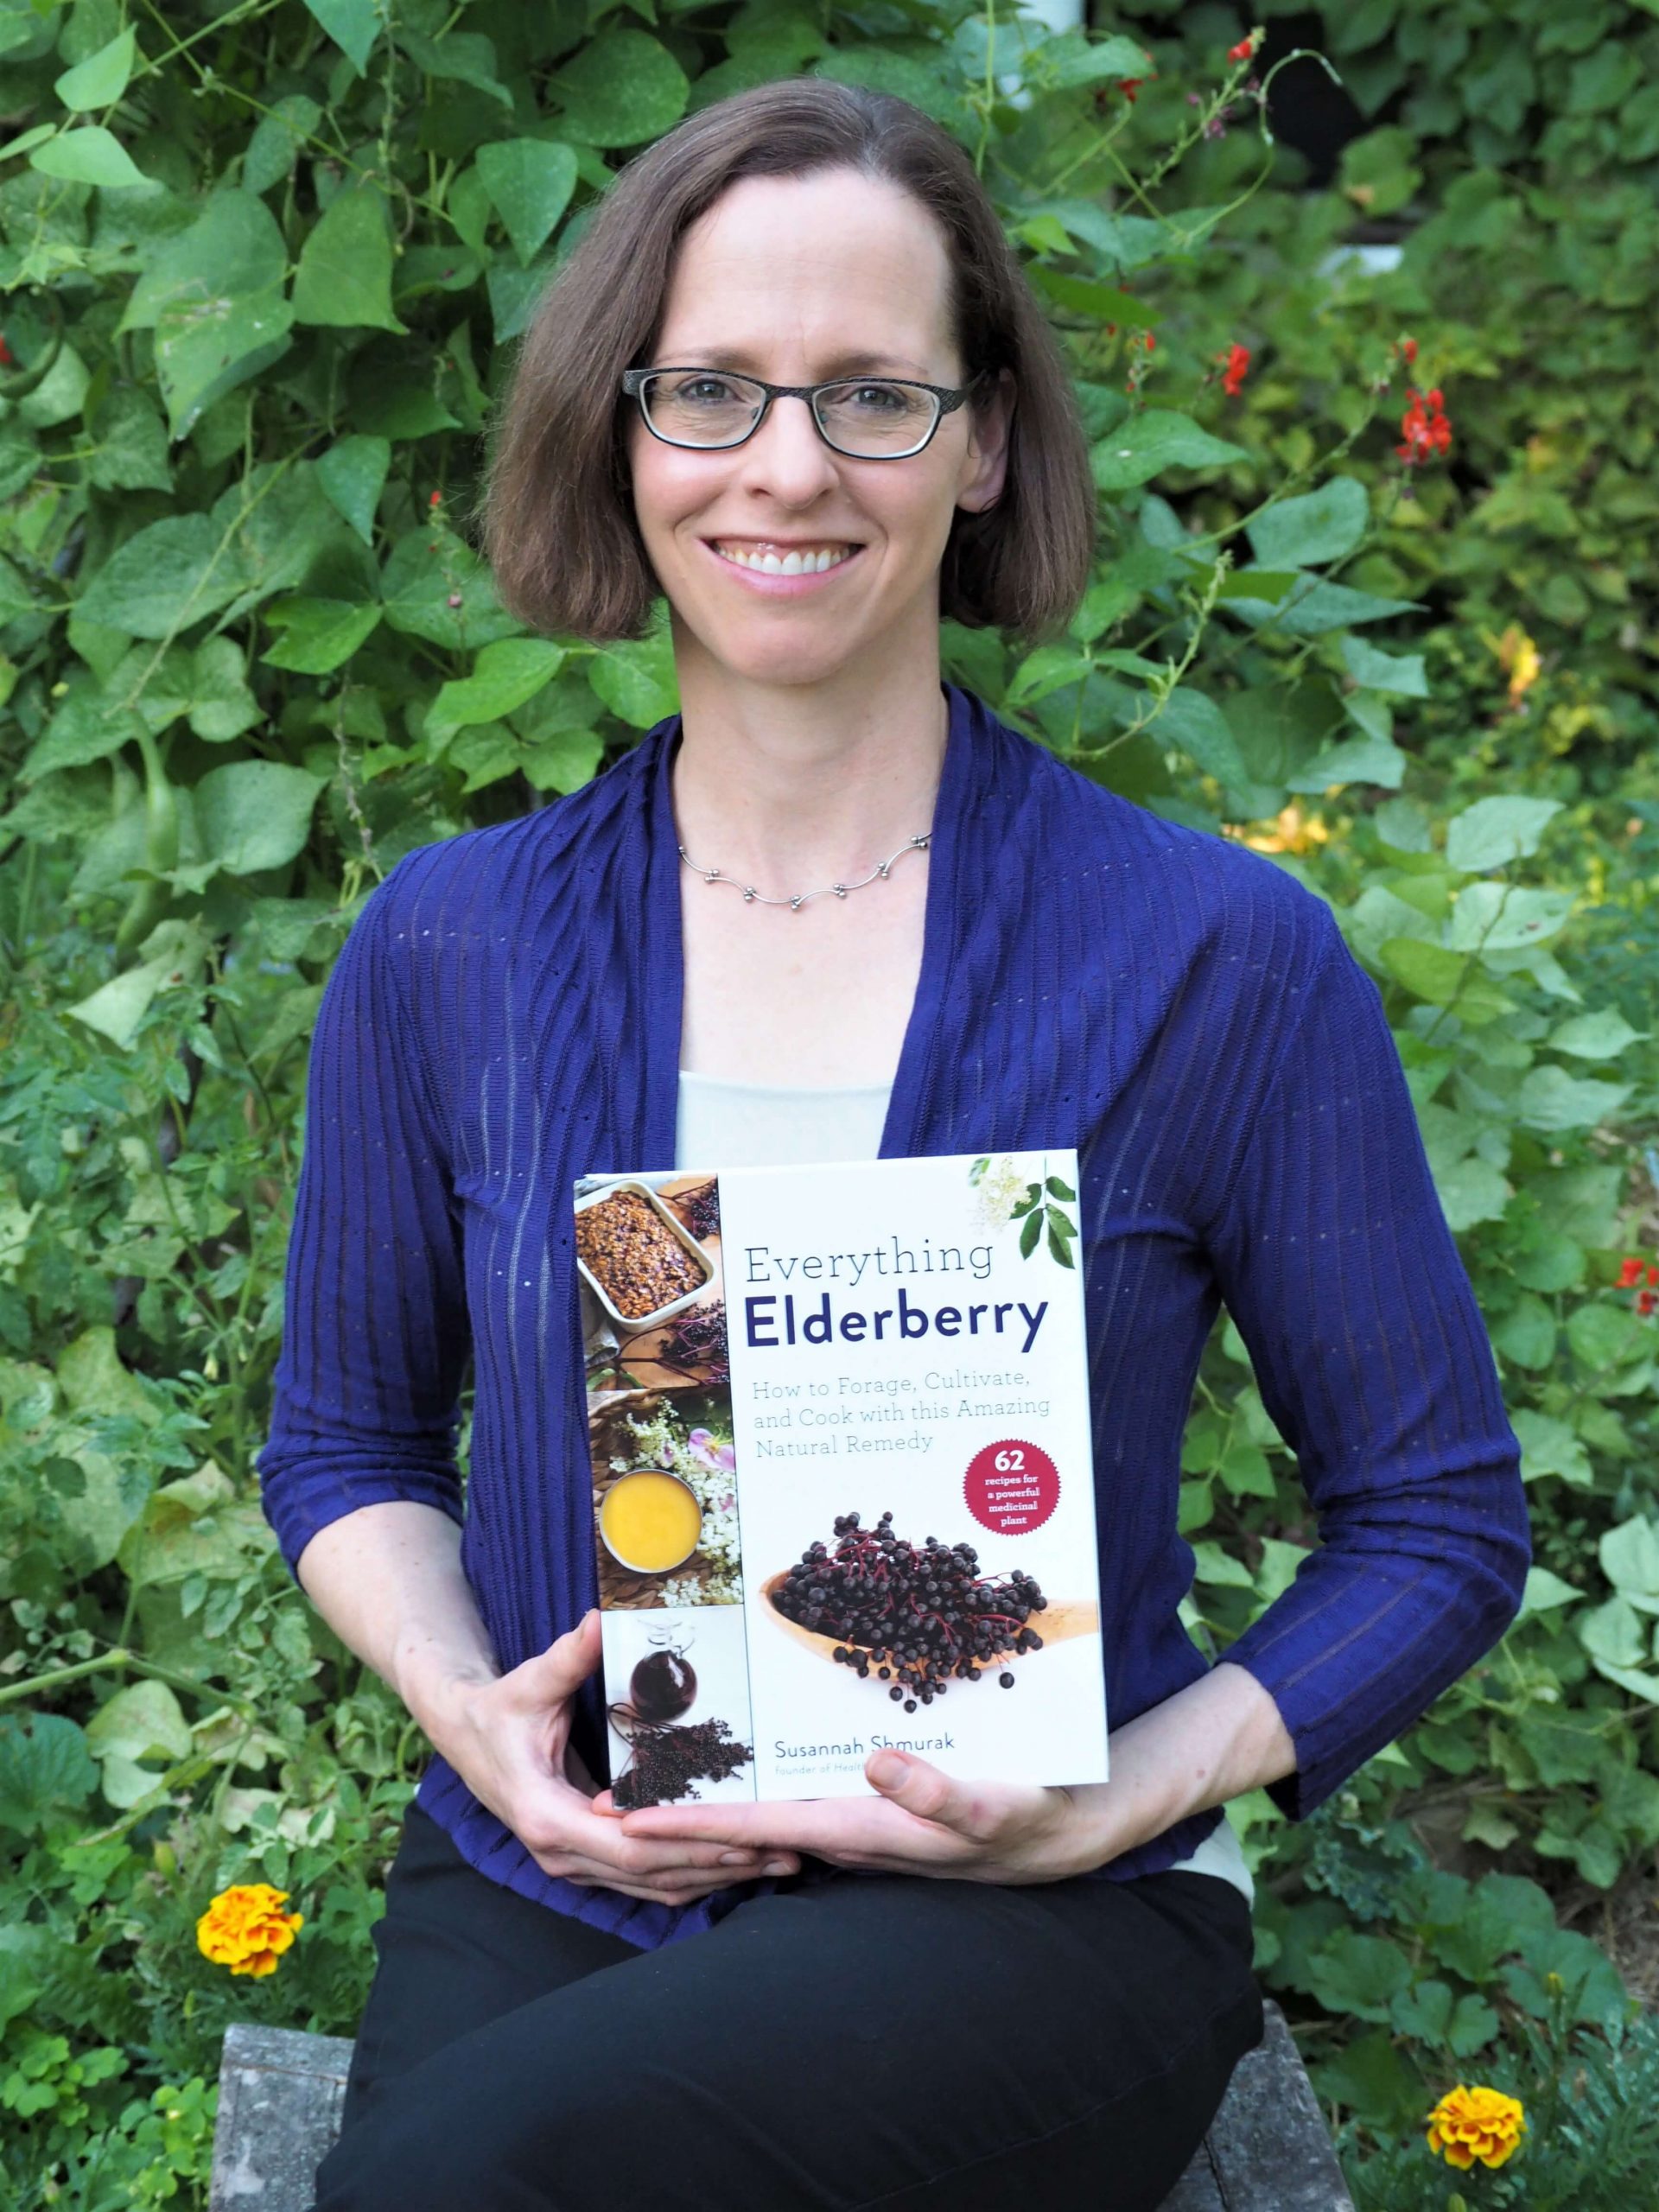
Susannah is a health and environmental writer focusing on gardening, foraging, medicinal plants, and sustainability. Her work has appeared in Mother Earth Living, Ensia, Northern Gardener, Sierra, and on numerous websites. Her first book, Everything Elderberry, released in September 2020 and was a #1 new release in holistic medicine, naturopathy, herb gardening, and other categories. Find out more and grab your copy here.
 Hi, I'm Susannah, a garden geek, energy nerd, and fan of healthy food and natural remedies. Need some simple, practical solutions for living healthier and greener? You've come to the right place! More about me and my green projects
Melissa says
Our neighbors have several elderberry bushes he wants removed from his yard. Can you transplant a whole bush? If so how would you recommend doing this.
Susannah says
Lucky you! You could possibly transplant the whole bush, though it may be difficult, especially if it’s a larger plant. If it has sent out some runners, you may have more luck digging up and transplanting a bunch of those, giving you more chances at success should transplanting the whole plant not work out. Let me know how it goes!